Editing PDF Files
August 8, 2024
I often forget how to perform basic PDF editing tasks. This is a reminder, which I will update as needed.
Decryption
Publishers often encrypt their PDFs. This prevents them from being modified. To check whether a PDF is encrypted and decrypt it if so, install qpdf and then run:
qpdf --is-encrypted myfile.pdf && \
qpdf --decrypt --replace-input myfile.pdf
Removing Watermarks
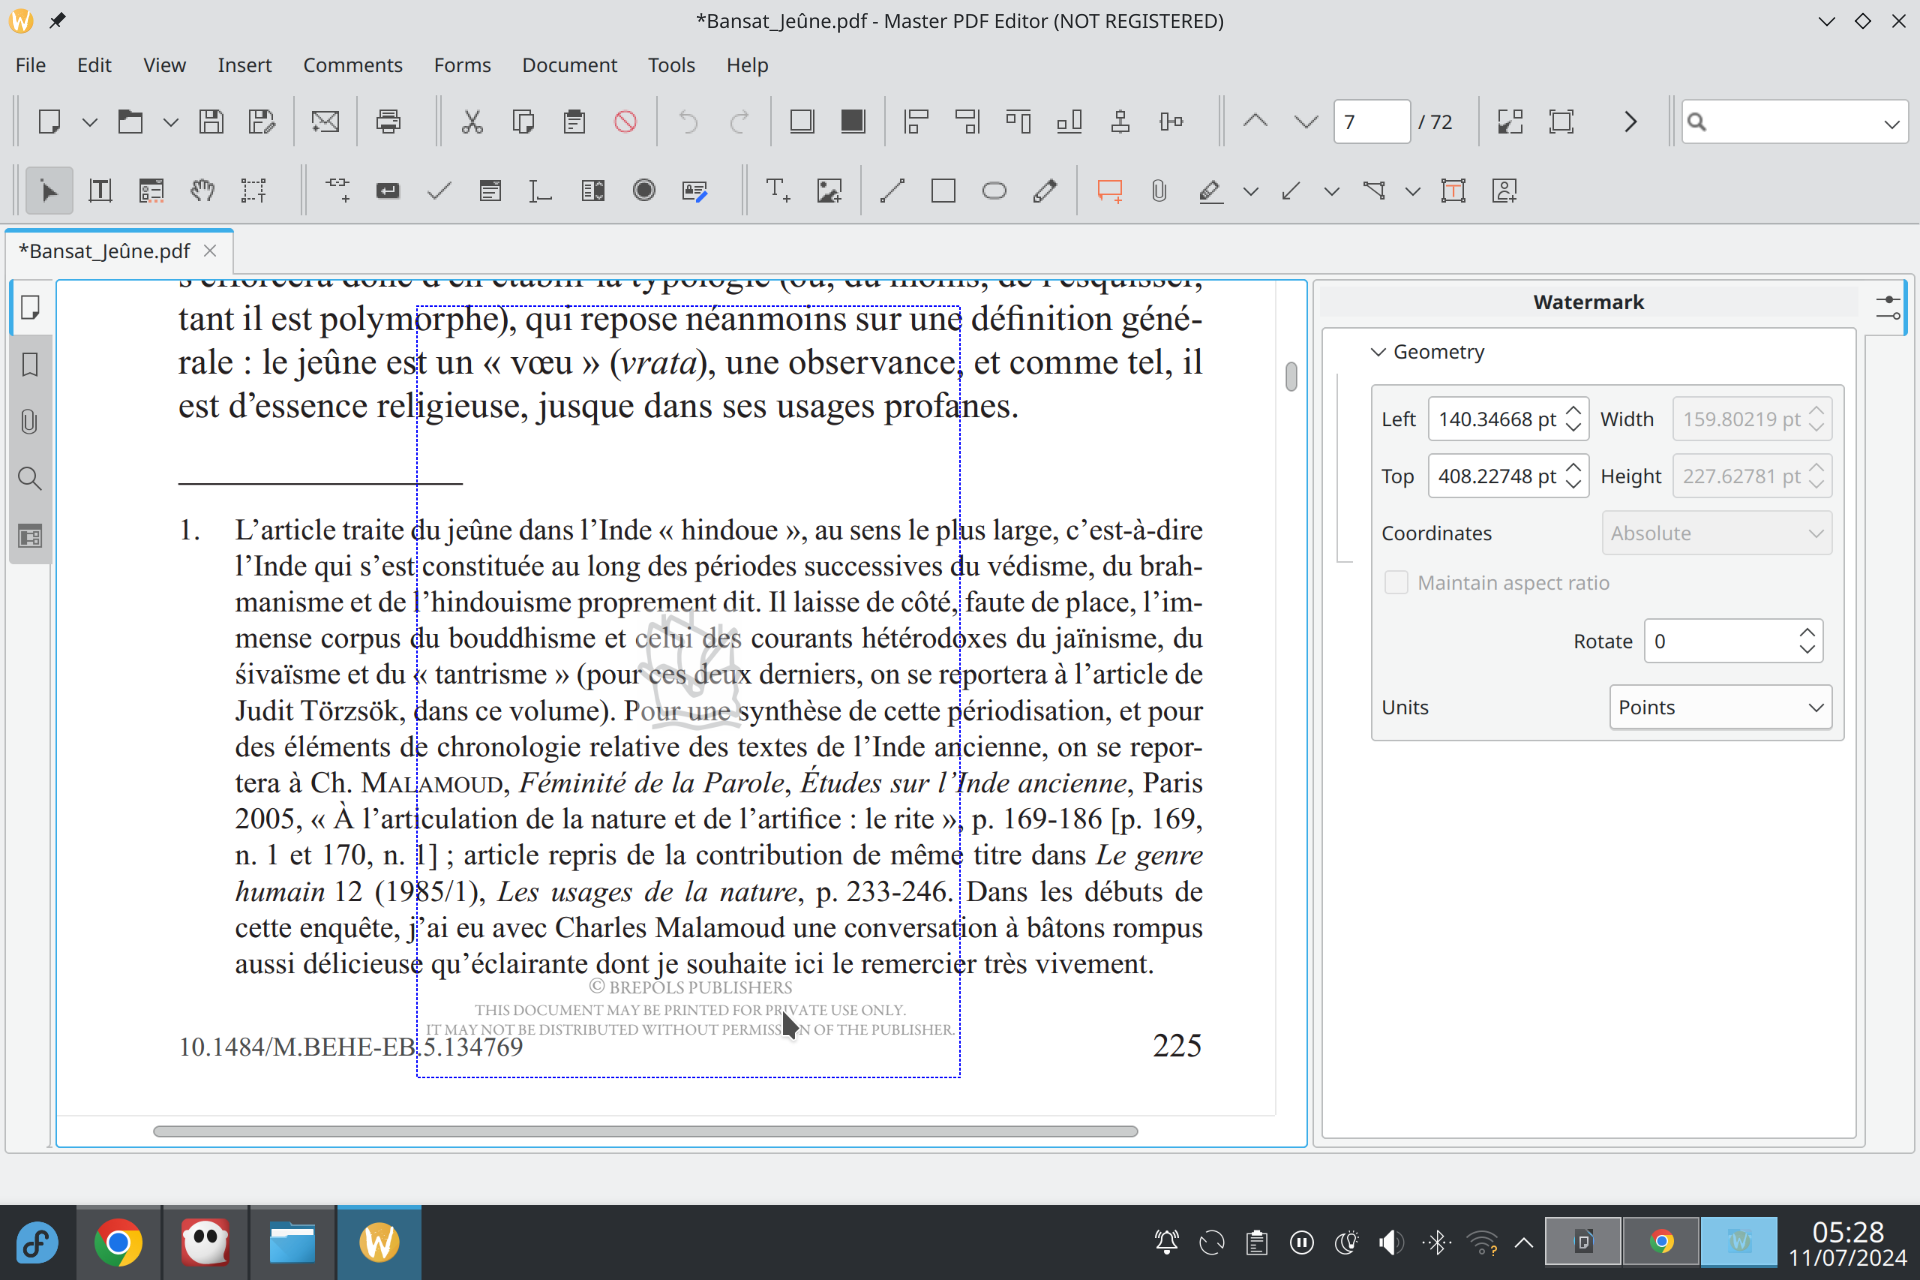
Some publishers add watermarks to the PDFs they produce. You can remove them with Master PDF Editor. Its version 4 is completely free, but is not maintained anymore. Its version 5—the latest one at the time of this writing—adds watermarks to the files you save, unless you buy a license.
Version 4 might not be easy to find. I backed up the Red Hat/Suse package for 64-bits systems here.
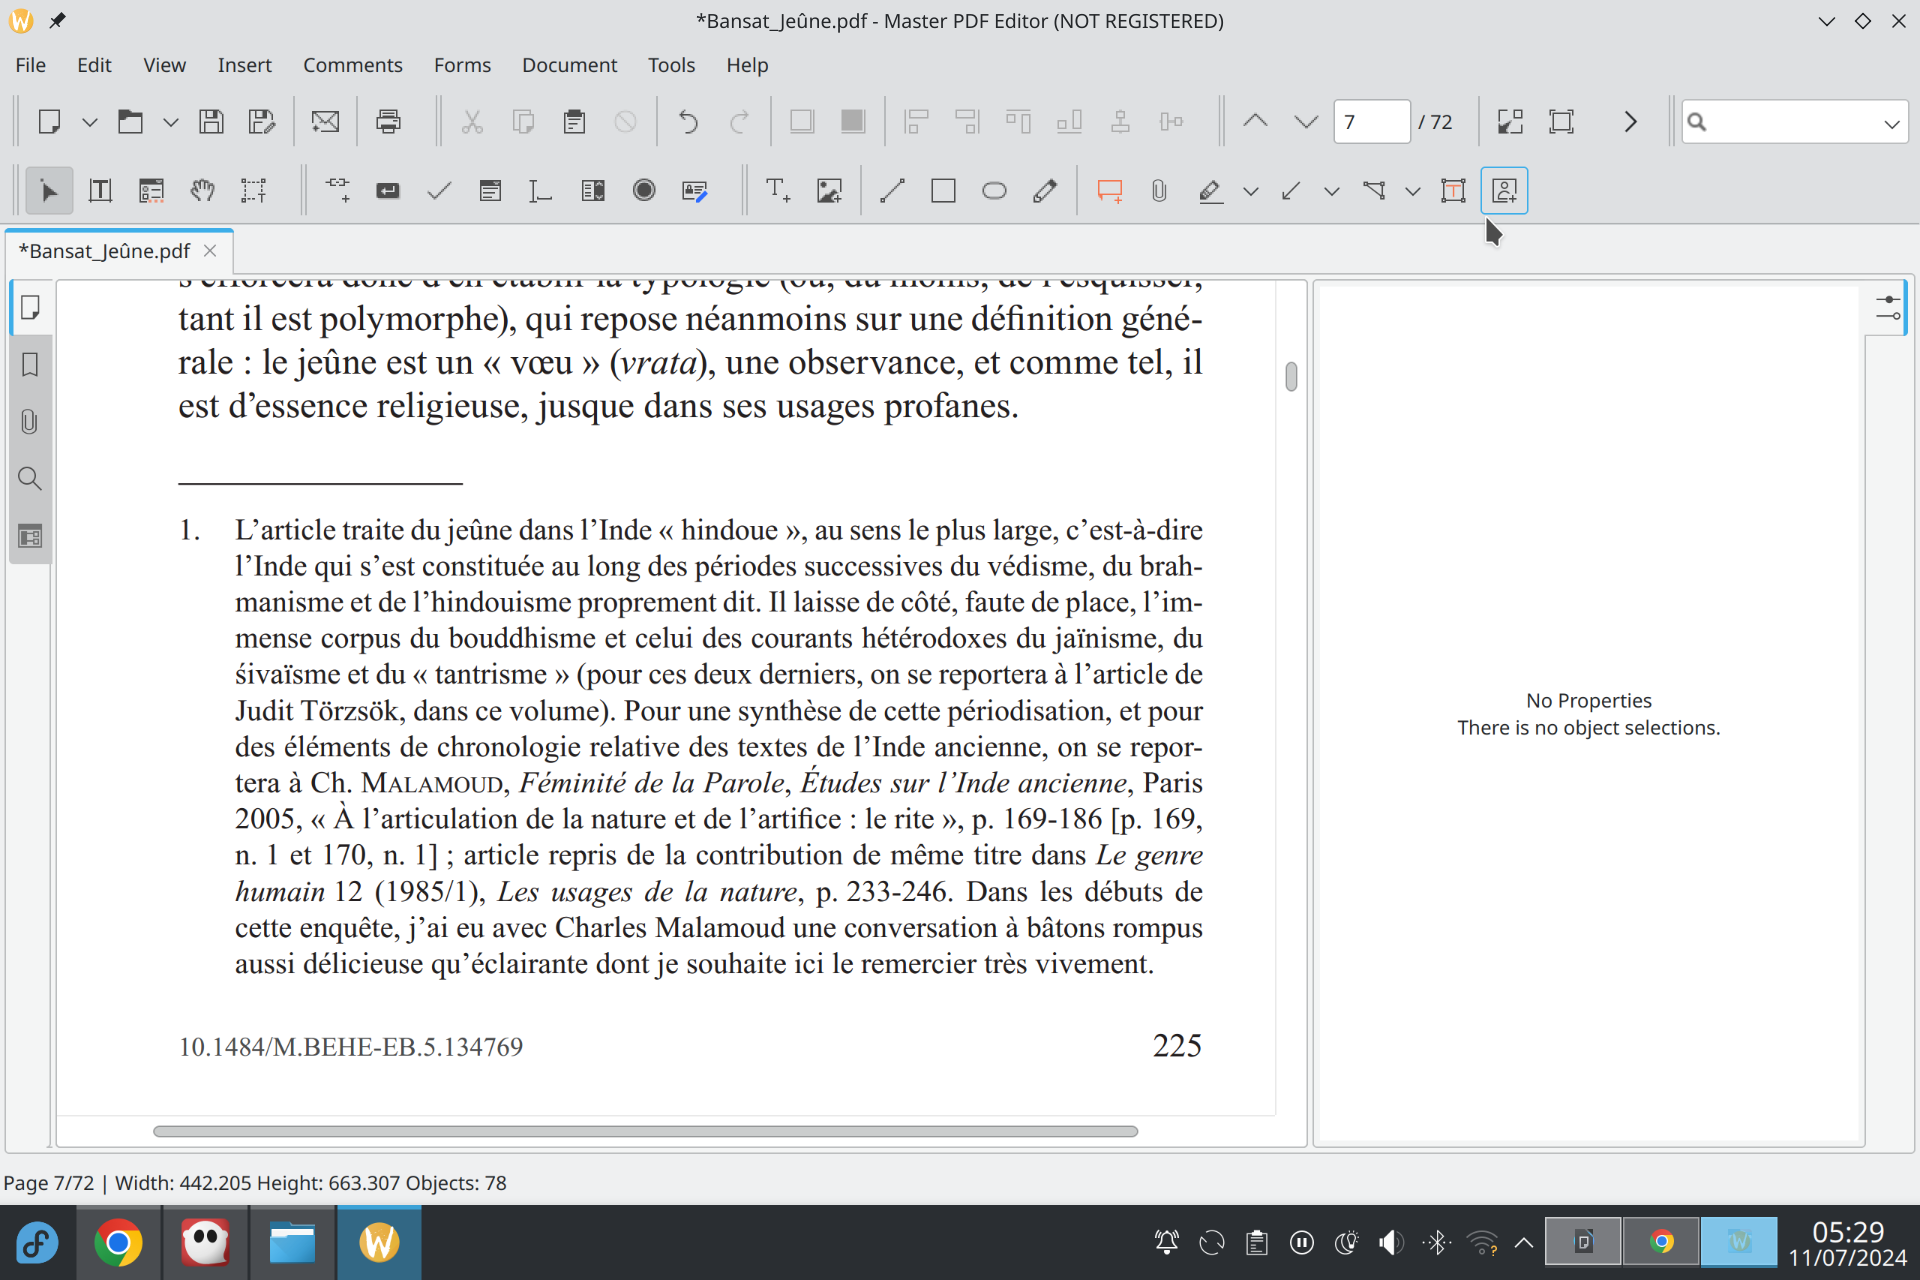
To delete a watermark, choose the arrow in the toolbar and click on the document at an appropriate location, then hit the delete key on your keyboard.
Merging Several Images into a PDF
Several sources on the internet prescribe to use ImageMagick for this. In my
experience, it produces low-quality PDFs, because it tries to reencode
images instead of just sticking them into the output file. It is better
to use img2pdf
instead. You can use it like so:
img2pdf -o myfile.pdf myimage1.png myimage2.pngWhen you have several numbered images, you can of course use wildcards:
img2pdf -o myfile.pdf *.pngOnce you are done, you might want to reduce the size of the file, for which see the relevant section.
Merging Several PDF Files
Use the pdfunite tool from Poppler:
pdfunite file1.pdf file2.pdf output.pdfThe last argument is the name of the output file. Be careful not to forget it, or you might override one of the input file!
Extracting Images
People generally recommend to use the pdfimages tool
from Poppler. It allows
you to extract images in a variety of formats, but does not offer much
options for transforming them. I find it more convenient to use the
pdftoppm tool—also from Poppler—and to convert the output
files to the format you want with ImageMagick.
The main advantage of PPM is that it is a lossless file format, unlike, say, JPEG. The acronym stands for “portable pixel map”.
You can extract images like so:
pdftoppm myfile.pdf myfile_pageThis produces a series of files myfile_page-01.ppm,
myfile_page-02.ppm, etc.
Extracting Pages
Use the pdfseparate tool from Poppler. For instance,
pdfseparate -f 3 -l 6 myfile.pdf myfile_page-%d.pdf… will extract pages 3–6 into myfile_page-3.pdf,
myfile_page-4.pdf, etc.
Extracting Text
Use the pdftotext tool from Poppler. To extract the text
to the standard output, use:
pdftotext myfile.pdf -Note that this will only work if the PDF has a text layer. See the relevant section for how to add one.
Adding a Table of Contents
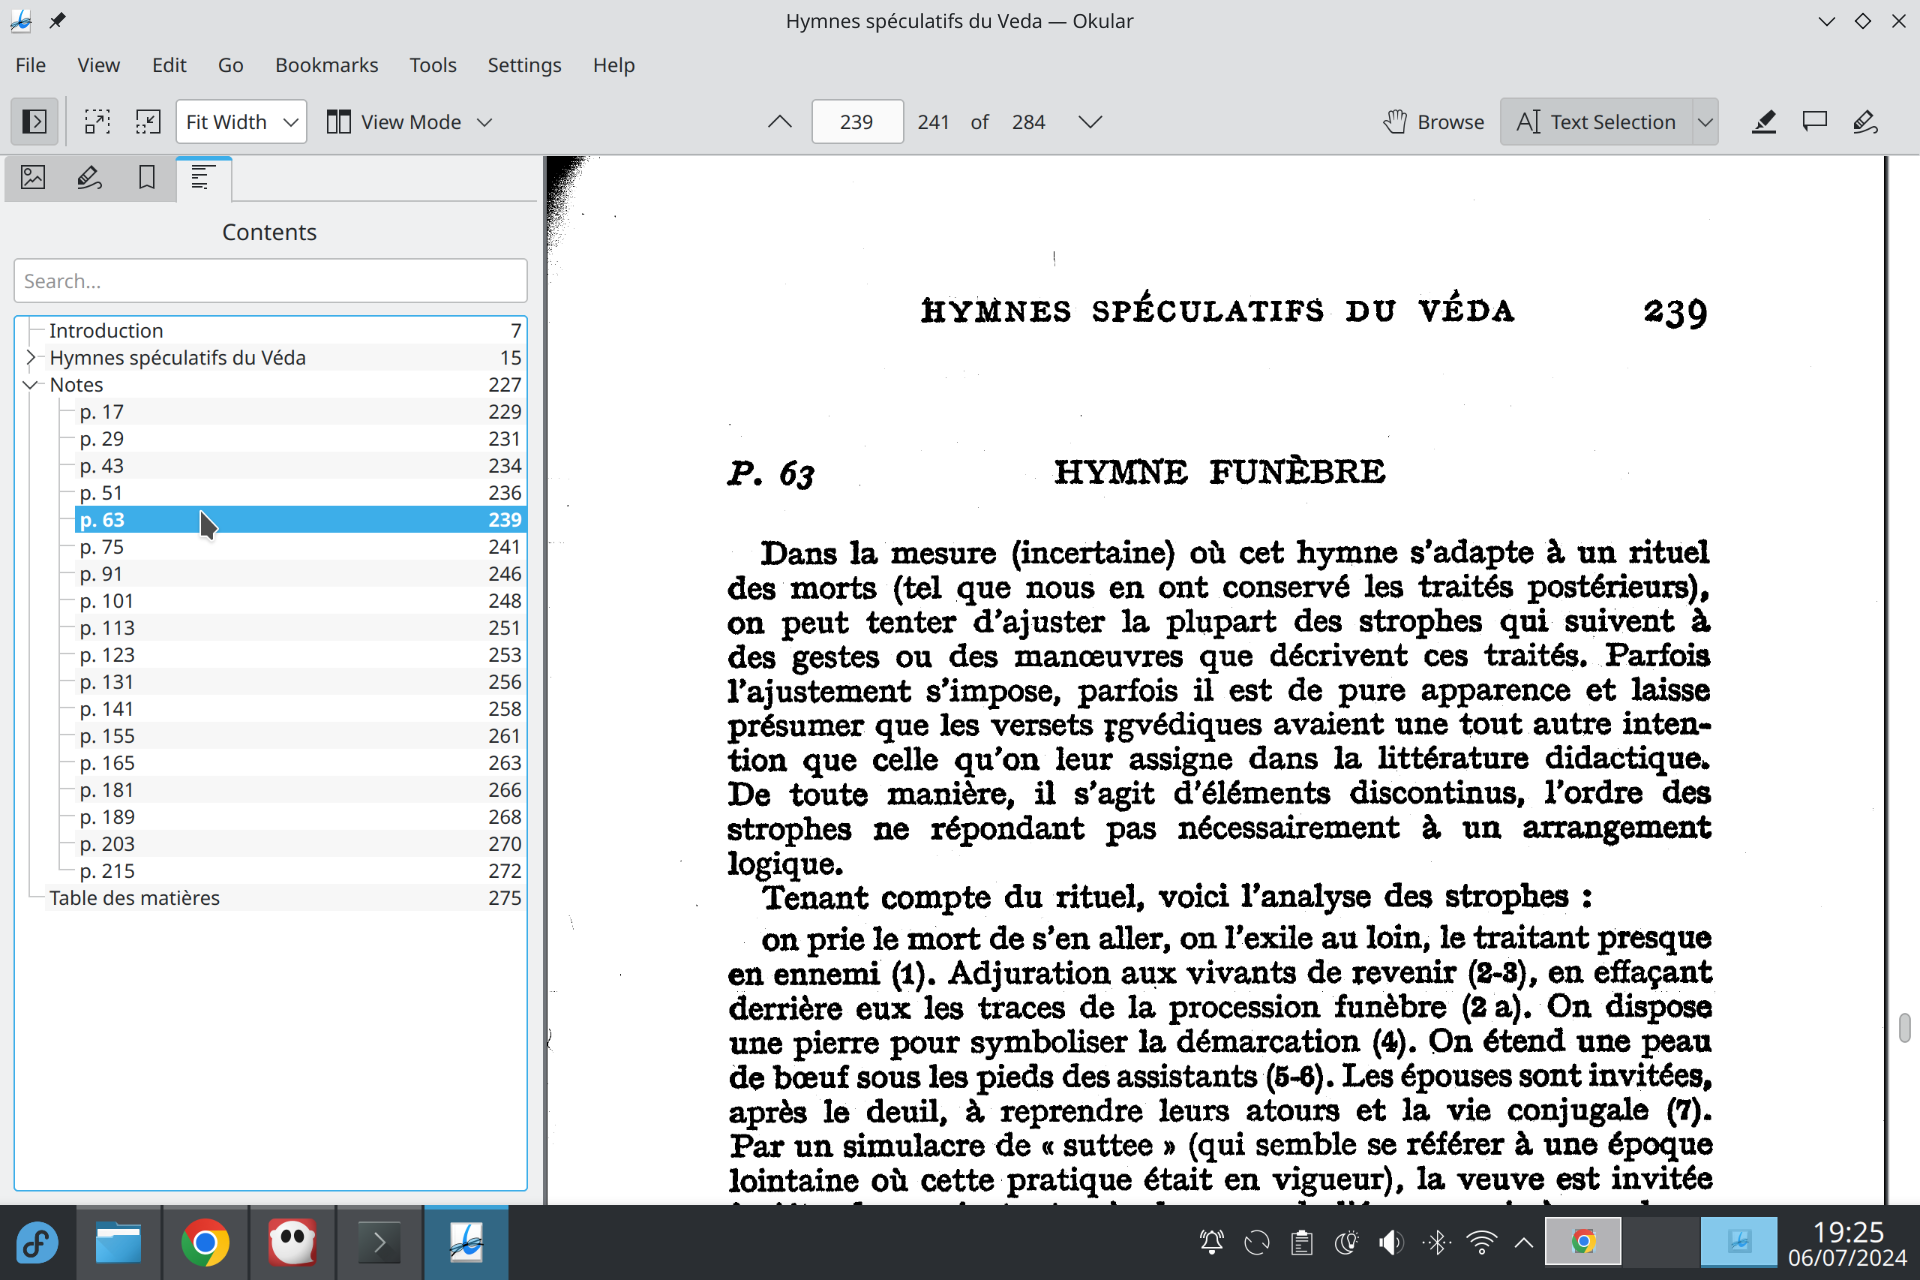
It is generally useful to add a table of contents to the PDFs you produce. This makes navigation easier, as can be seen below:
Clickable entries on the left side are called “bookmarks” in PDF terminology. They typically match the volume’s actual outline, but this is not mandatory. You can nest bookmarks however you like, and you can also add bookmarks out of order—for instance, the first bookmark can point to page 5, and the second to page 1. It is also possible to make several bookmarks point to the same page, and even to point to a peculiar location in a page.
I recommend to use Adobe’s Acrobat Reader for this. You
need the professional edition, which is quite expensive. However, you
can find older (cracked) versions on the internet. I use version 8,
which works well under Wine.
It is also possible to use Master PDF Editor. However, its implementation of the feature is somewhat buggy. It messed up the bookmarks of a few of my files, so I stopped using it for this purpose.
Numbering Pages
Besides adding bookmarks to your PDFs, you might want to number pages in a way that reflects the numbering of the printed volume. This way, you can just type a page number—be it a Roman number, an Arabic number, etc.—to go to the corresponding page in the volume.
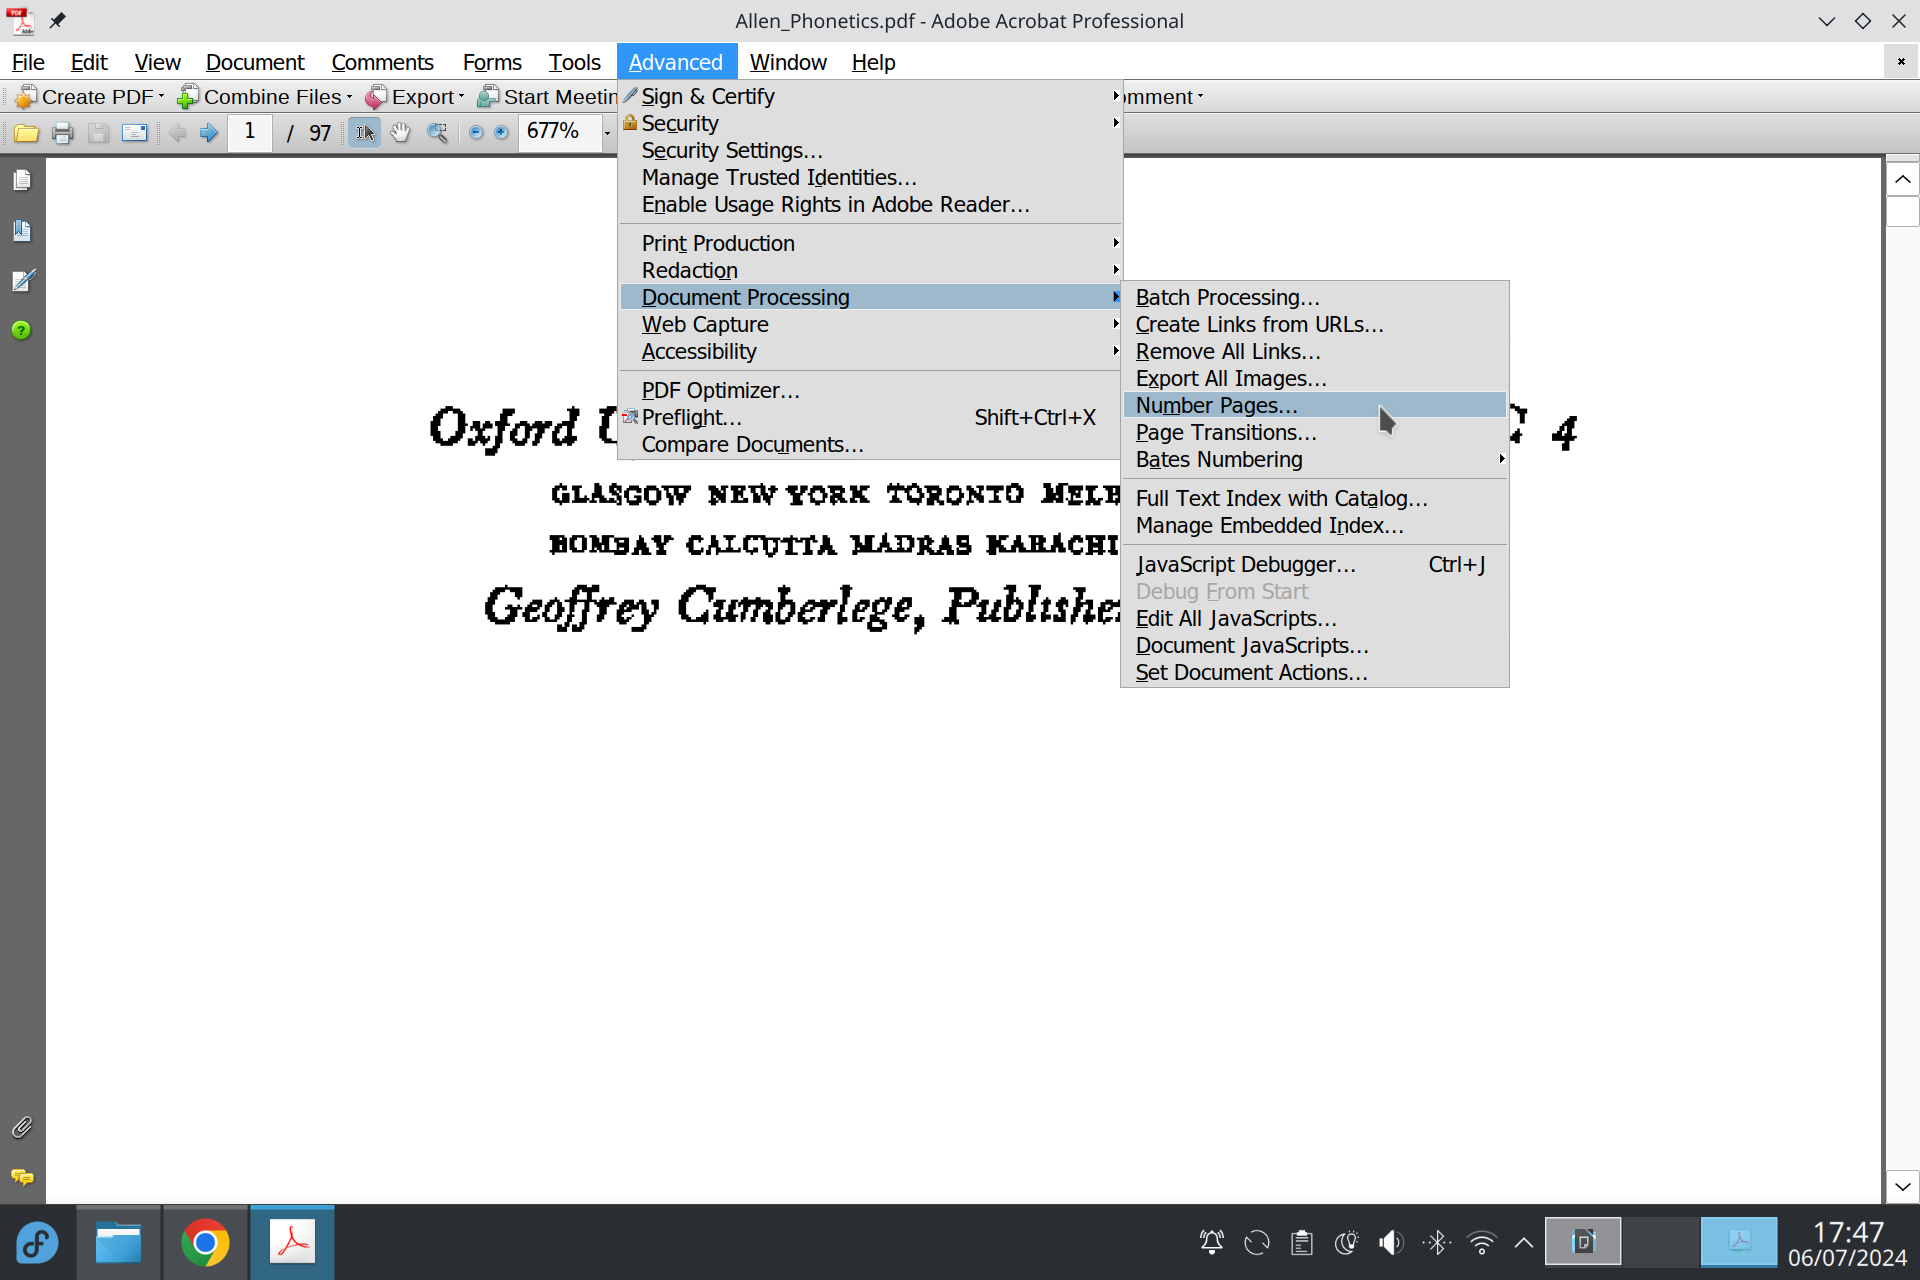
For this, you can use the professional edition of Adobe’s Acrobat Reader. The page numbering functionality is located here in version 8:
Custom page numbers are called “page labels” in PDF terminology.
Instead of assigning page numbers manually, you can also upload your PDF file to archive.org. Indeed, their file processing infrastructure attempts to extract page numbers from the scanned images and tries to assign page labels that match them. This works quite well in practice.
Adding a Text Layer
To make your PDFs searchable, and, more generally, to allow textual operations like copy-paste, it is necessary to add to them a text layer. This only concerns scanned volumes; PDFs generated from a text editor do not need one.
The tool of choice for this task is ocrmypdf. It is
a convenient wrapper of Google’s tesseract OCR
library. After you have installed both, you will need to download and
install data files from here or here. There
are language-specific data files, as well as script-specific ones.
Basic use of ocrmypdf involves commands like this:
ocrmypdf -l eng myfile.pdf myfile.pdfThe -l parameter is used to indicate the name of the
model, without the .traineddata extension (for instance,
eng, fra, Latin). It is possible
to use several models at the same time, for multilingual texts. The
command is:
ocrmypdf -l eng+fra myfile.pdf myfile.pdfAlternatively, you can also upload the file to archive.org. Their infrastructure performs two OCR passes: the first one uses a common basic data file to obtain a reasonable approximation of the text, and the resulting text is processed with a language recognition tool; then, a new OCR pass is performed with the data file that corresponds to the detected language.
Reducing the File Size
Use ocrmypdf for
this task. To only perform size optimizations, use:
ocrmypdf --skip-text --tesseract-timeout=0 myfile.pdf myfile.pdfIt is possible to improve the compression ratio—and sometimes even
the readability of the text—by using monochrome images. Indeed, the
JBIG2 encoding, which is widely used in PDFs readers, deals very
efficiently with images of this type. You need to install jbig2enc, and you can then
run the above ocrmypdf command, which will use JBIG2
automatically if this improves the file size.
If your scanned pages are not monochrome, you can convert them to this form with ImageMagick. Use the command:
magick input.ppm -monochrome output.ppmThe result might not be satisfactory. In this case, you can manually adjust the binarization threshold until you obtain the result you want, as follows:
magick input.ppm -threshold 48% output.ppmFinally, ocrmypdf allows you to compress your files
further, although with a loss in quality, with the -O
option.


